1月31日の学習
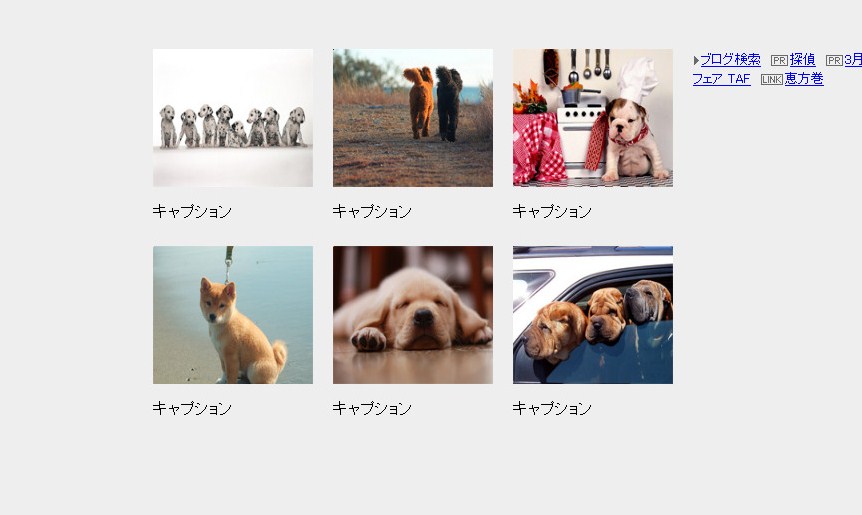
◆CSSのみでポップアップ画像を表示(画像拡大)
<!DOCTYPE html PUBLIC "-//W3C//DTD XHTML 1.0 Transitional//EN"
 "http://www.w3.org/TR/xhtml1/DTD/xhtml1-transitional.dtd">
<html xmlns="http://www.w3.org/1999/xhtml">
<head>
<meta http-equiv="Content-Type" content="text/html; charset=utf-8" />
<title>cssのみで画像拡大</title>
<style>
body{
	background-color: #eee;
}
#wrapper{
	width: 540px;
	margin: 50px auto;
}
.block1,
.block2{
	display: inline;    ←blockごと横並びにする
	float: left;     ←float:left;重要!
	height: 197px;
	width: 160px;
	margin: 0 20px 0 0;
}
img{
	border: none;
}
.photo{
	position: relative;
	top: 0;
	left: 0;
	width: 160px;
}
.photo a img.large{    ←マウスオーバー前の拡大画像
	display: block;
	position: absolute;
	left: 0;
	top: 0;
	height: 1px;   ←拡大前なのでサムネールの左上原点に1pxで設定。
	width: 1px;
}
.photo a.popup,
.photo a.popup:visited{  ←マウスアウトの際、画像の大きさを元にもどす
	display: block;
	left: 0;
	top: 0;
	width: 160px;
}
.photo a.popup:hover{
	background-color: #FFF;   ←マウスオーバー時に下の画像がすけないように指定
}
.photo a.popup:hover img.large{   ←マウスオーバー時の拡大画像
	display: inline;
	height: 220px;
	left: 0;
	position: absolute;
	top: -15px;
	width: 285px;
	z-index: 100;
}
.photo2{     ←photo2は左に拡大画像のためphotoと区別してつけたclass名
	position: relative;
	top: 0;
	left: 0;
	width: 160px;
}
.photo2 a img.large2{
	display: block;
	height: 1px;
    position: absolute;
    left: 0;
	top: 0;
	width: 1px;
}
.photo2 a.popup:hover img.large2{
	display: block;
	height: 220px;
	position: absolute;
	left: -125px;
	top: -15px;
	width: 285px;
	z-index: 1000;
}
</style>
</head>
<body>
<div id="wrapper">
<div class="block1">
<div class="photo">
<a href="#" title="" class="popup"><img src="images/01s.jpg" width="160" height="138" /><img src="images/01.jpg" width="285" height="220" class="large" /></a>
    ←※ a にclass名をつける「class="popup"」
      ※hoverの際の拡大画像にclass名をつける「class="large"」
</div>
<p class="caption"><span>キャプション</span></p>
</div>
<div class="block1">   ←ポップアップ画像を右に表示するblock名
<div class="photo">
<a href="#" title="" class="popup"><img src="images/02s.jpg" width="160" height="138" /><img src="images/02.jpg" width="285" height="220" class="large" /></a>
</div>
<p class="caption"><span>キャプション</span></p>
</div>
<div class="block2">   ←ポップアップ画像を左に表示するblock名
<div class="photo2">
<a href="#" title="" class="popup"><img src="images/03s.jpg" width="160" height="138" /><img src="images/03.jpg" width="285" height="220" class="large2" /></a>
</div>
<p class="caption"><span>キャプション</span></p>
</div>
<div class="block1">
<div class="photo">
<a href="#" title="" class="popup"><img src="images/04s.jpg" width="160" height="138" /><img src="images/04.jpg" width="285" height="220" class="large" /></a>
</div>
<p class="caption"><span>キャプション</span></p>
</div>
<div class="block1">
<div class="photo">
<a href="#" title="" class="popup"><img src="images/05s.jpg" width="160" height="138" /><img src="images/05.jpg" width="285" height="220" class="large" /></a>
</div>
<p class="caption"><span>キャプション</span></p>
</div>
<div class="block2">
<div class="photo2">
<a href="#" title="" class="popup"><img src="images/06s.jpg" width="160" height="138" /><img src="images/06.jpg" width="285" height="220" class="large2" /></a>
</div>
<p class="caption">キャプション</p>
</div>
</div>
</body>
</html>
JS等を使わず、CSSのみで画像を拡大。
拡大画像は外囲み内で設定すること(はみ出ると切れて見えなくなる)。
この方法は今後使いたいので覚えておこう。
